Step 01:
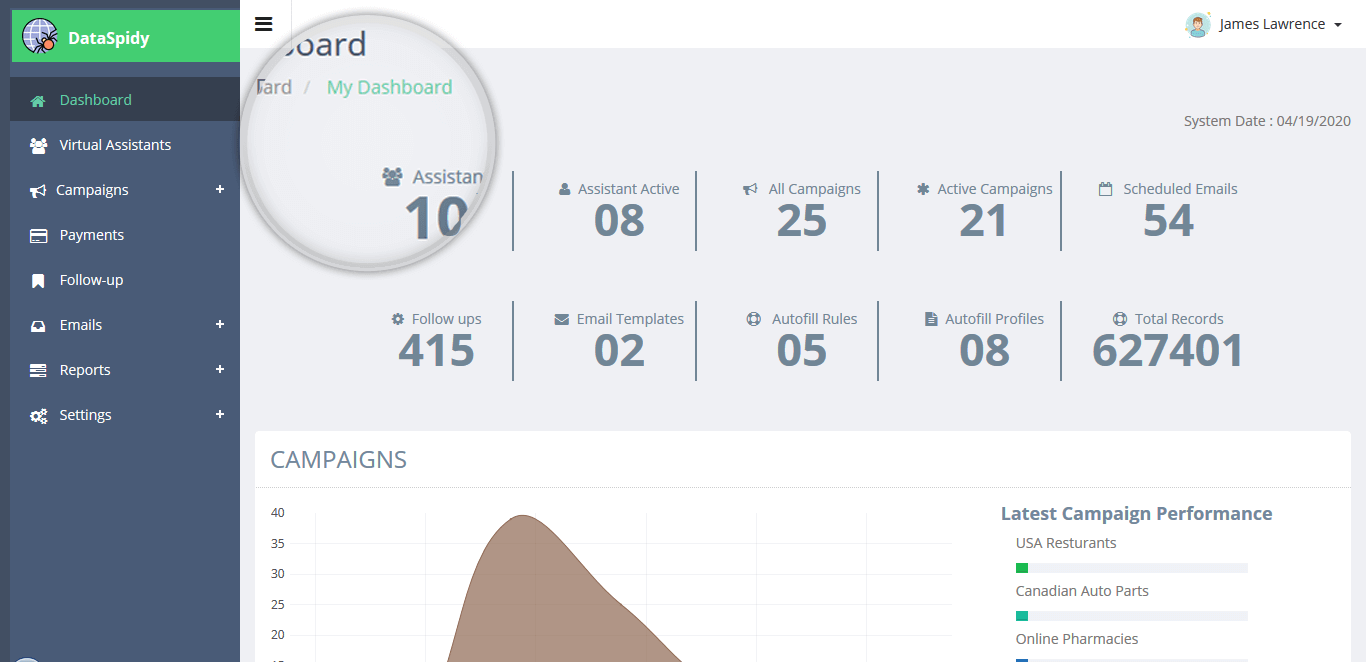
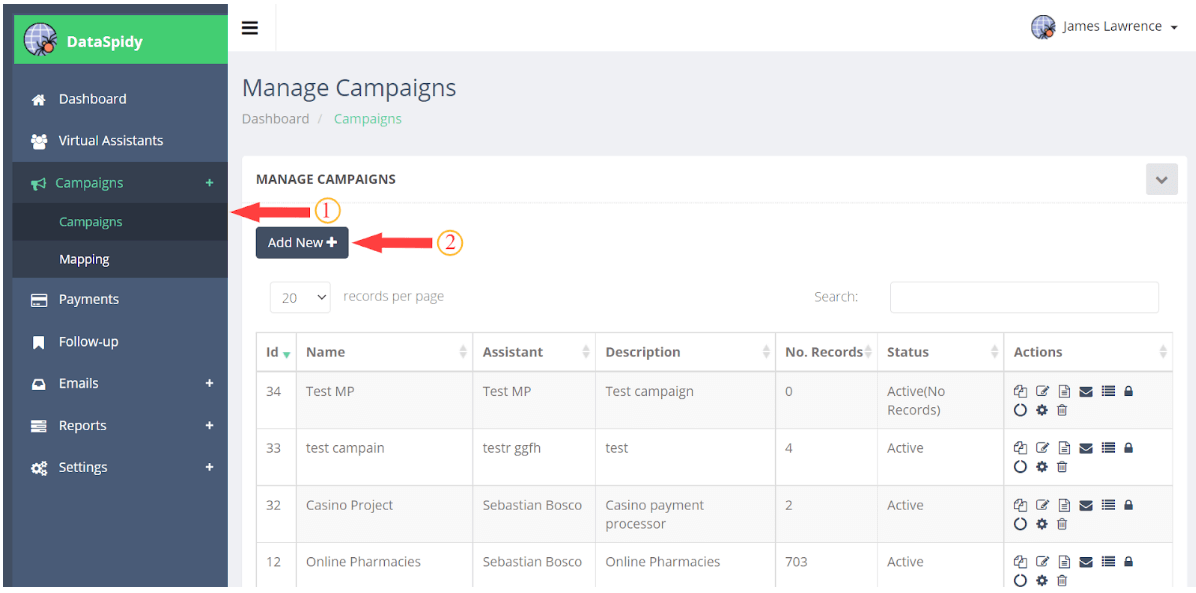
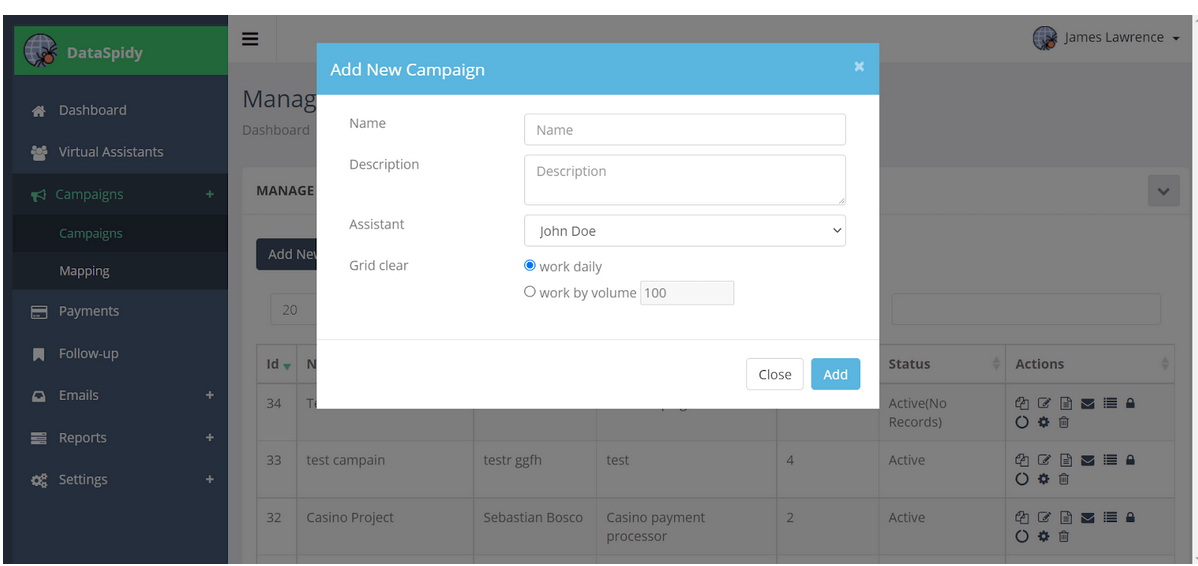
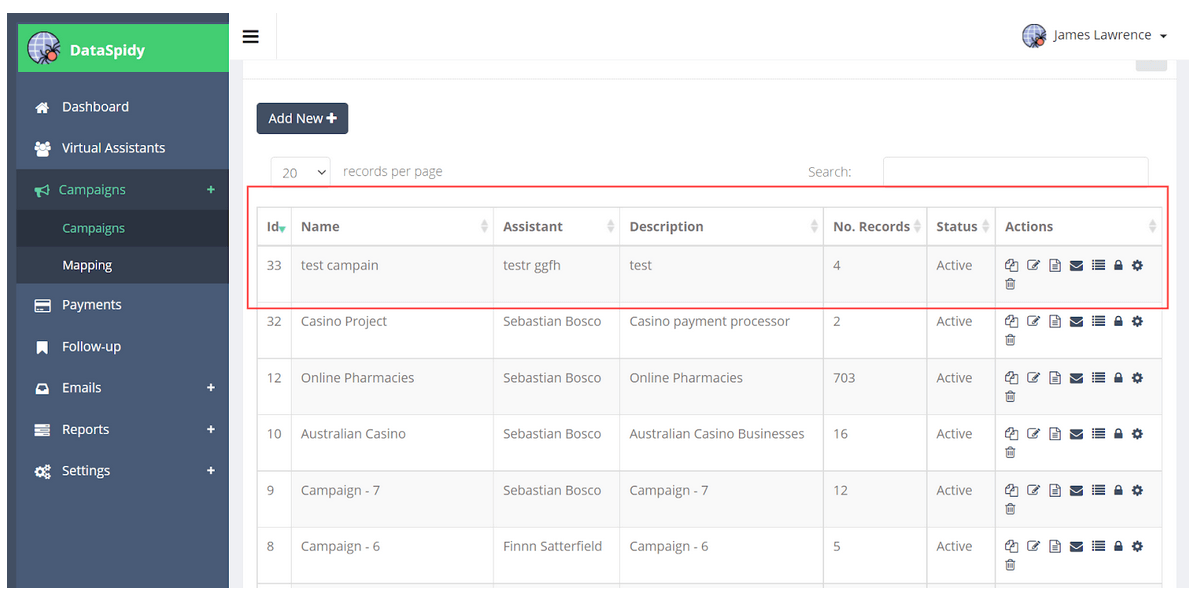
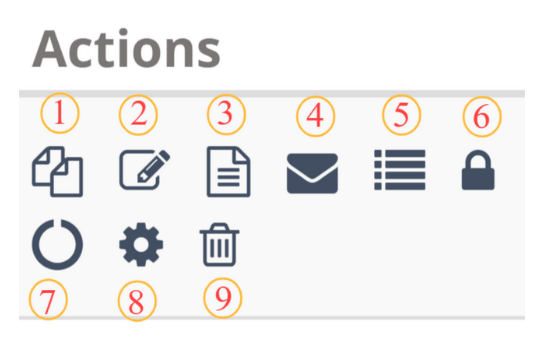
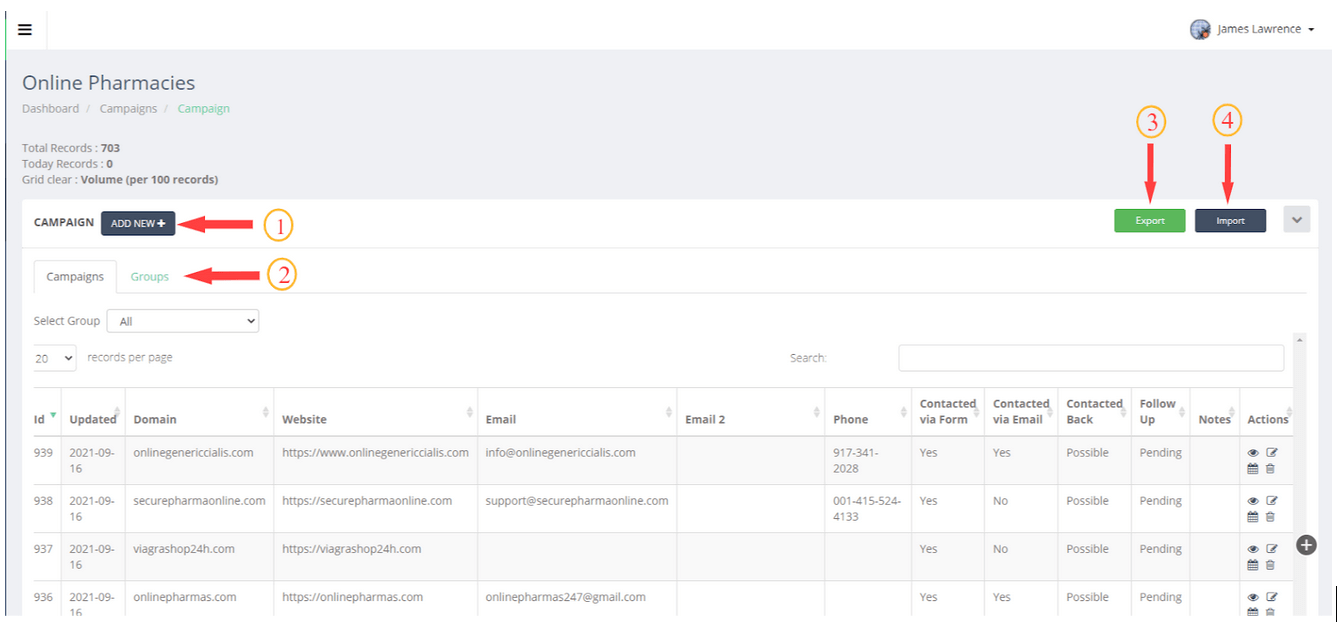
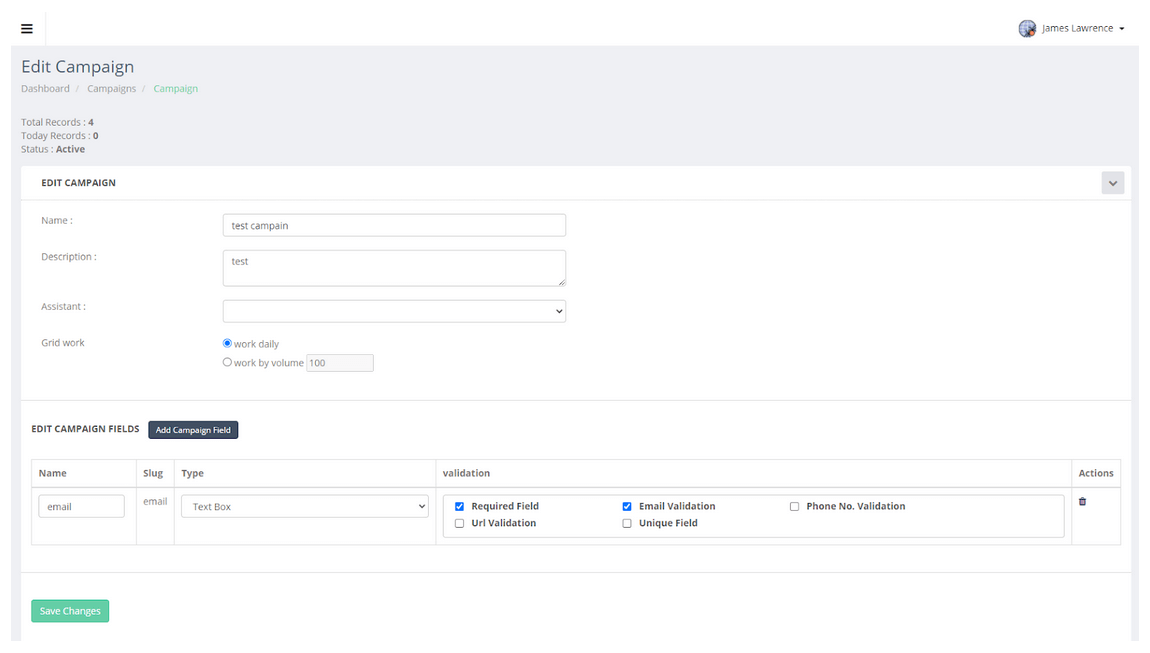
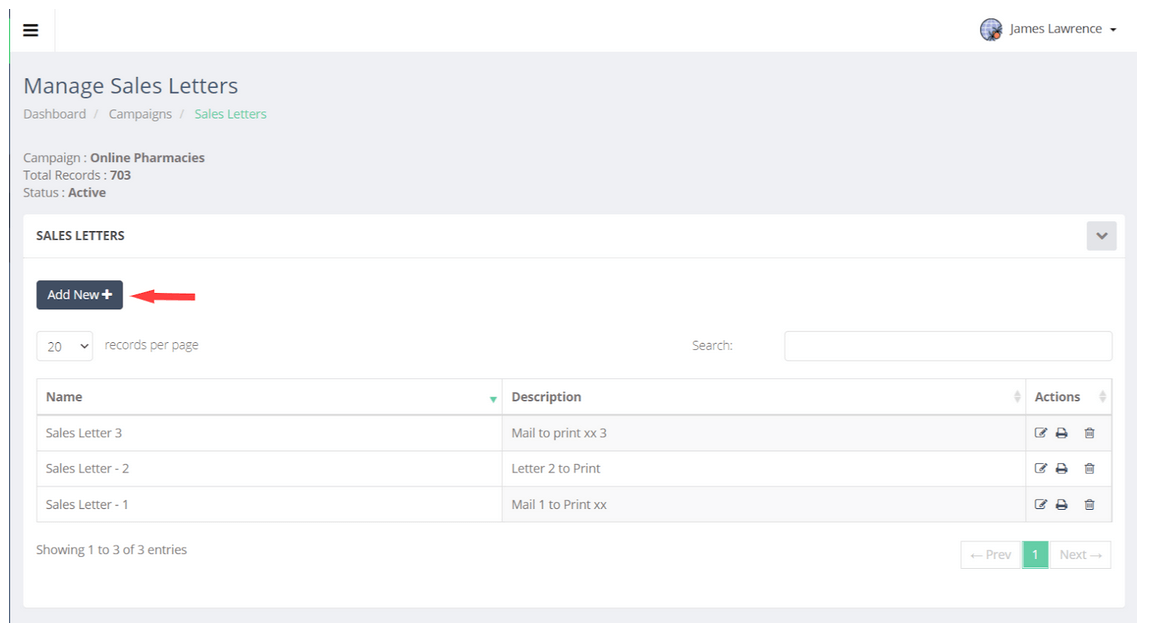
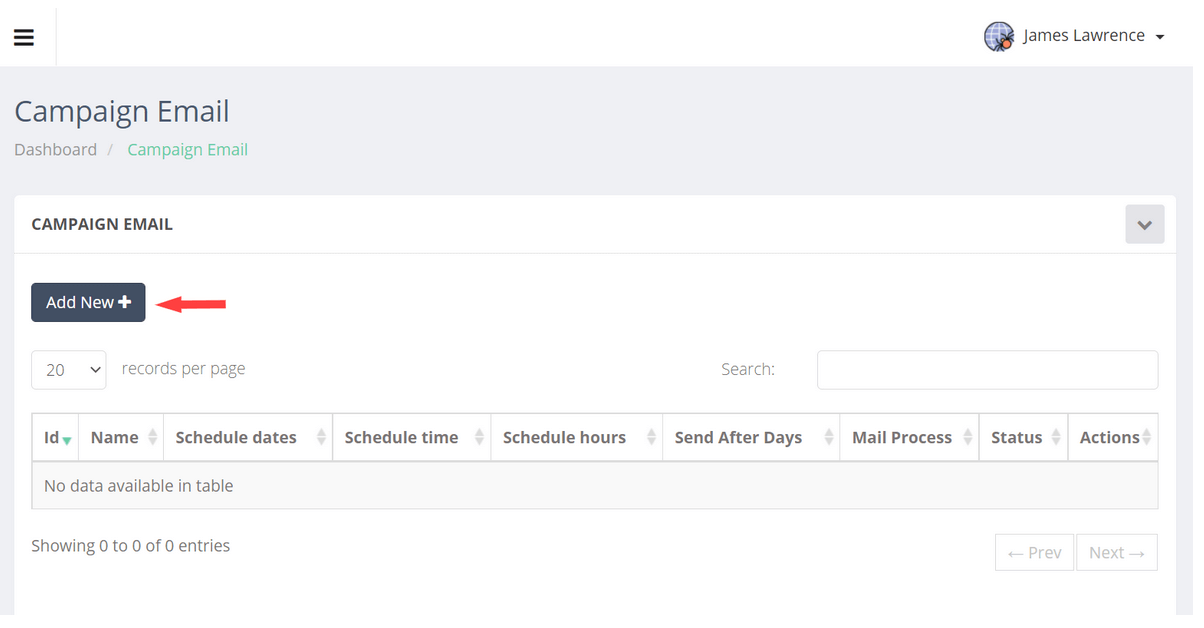
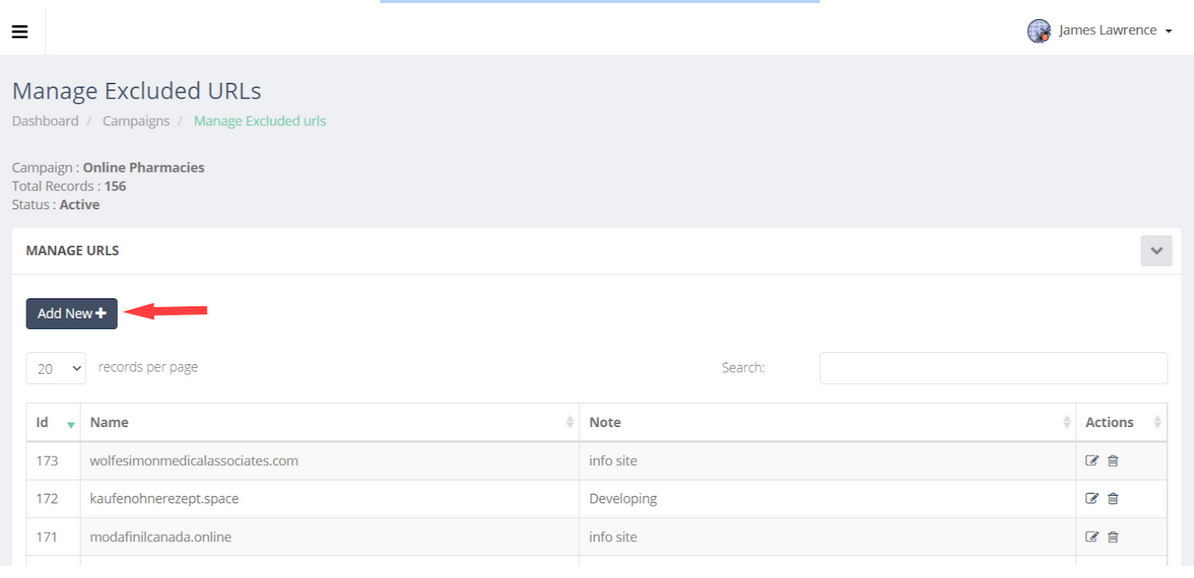
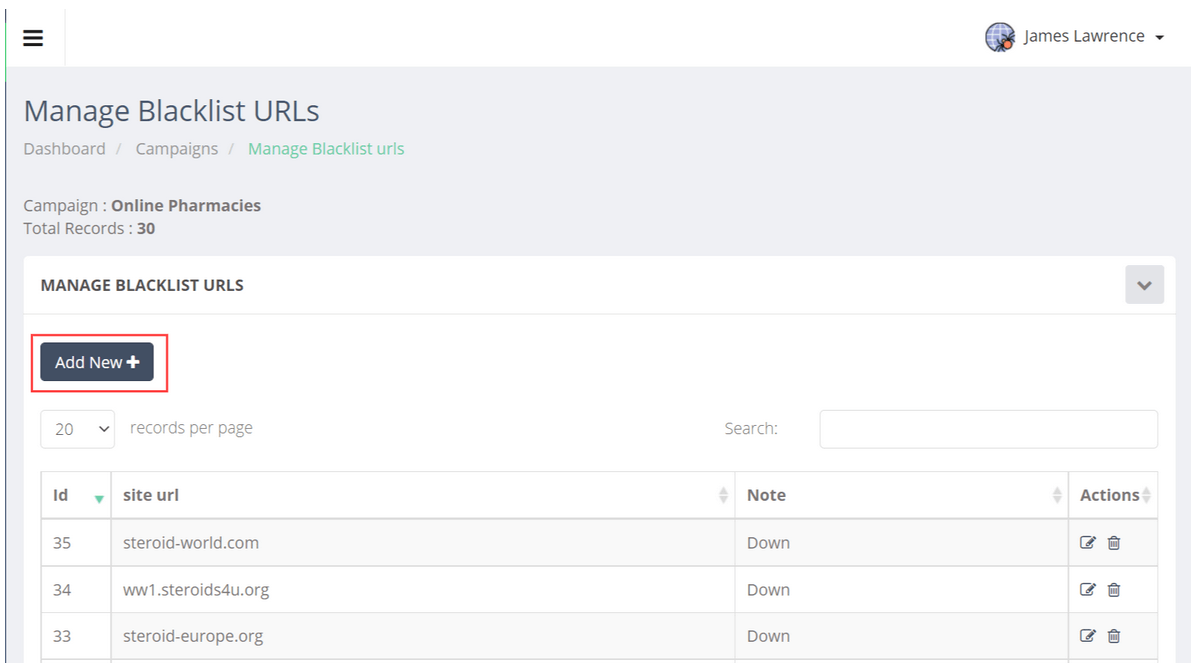
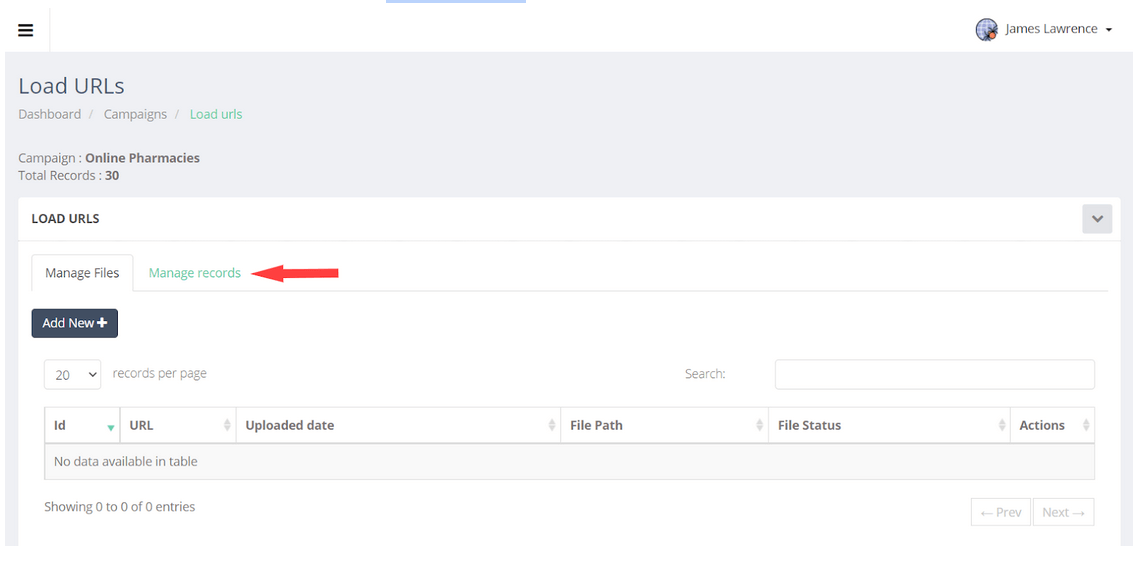
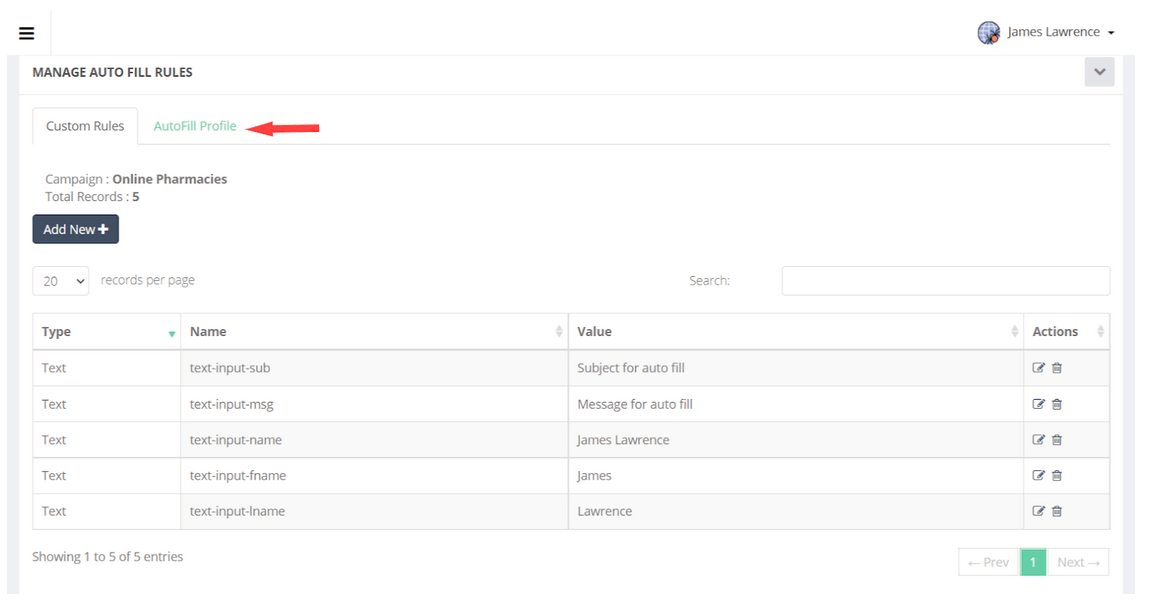
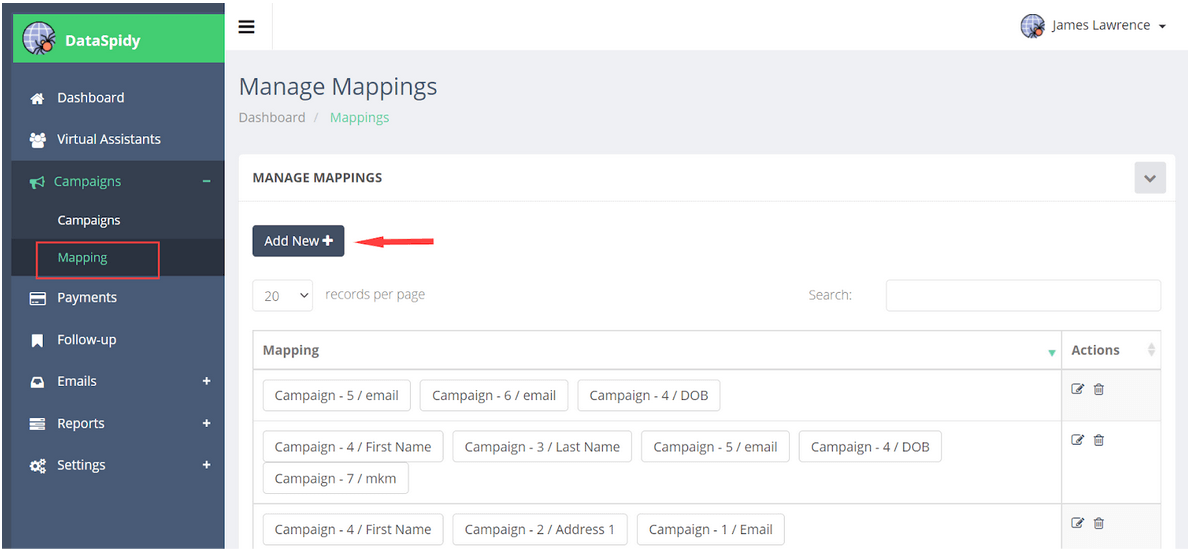
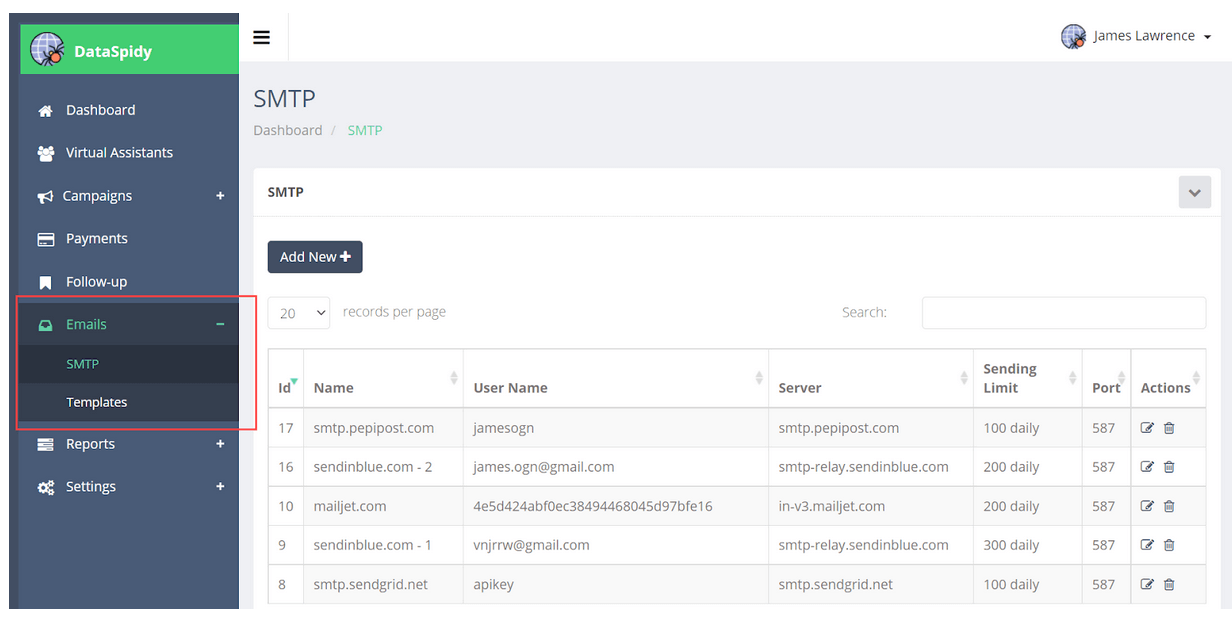
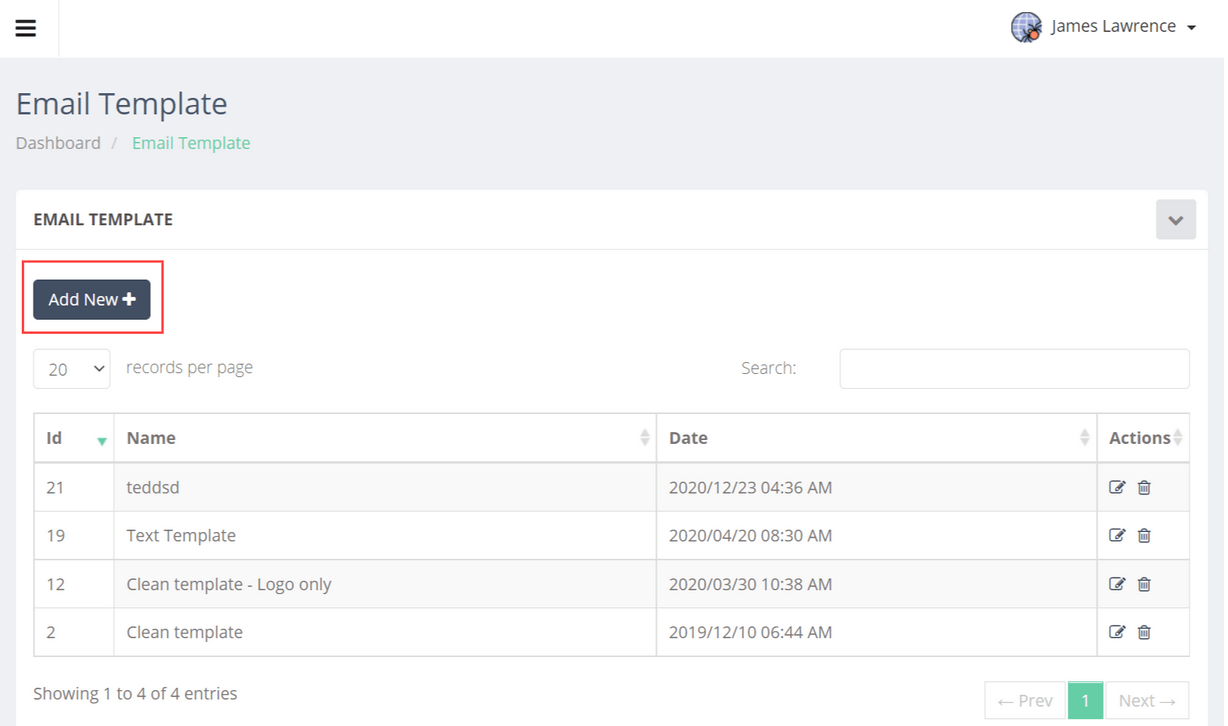
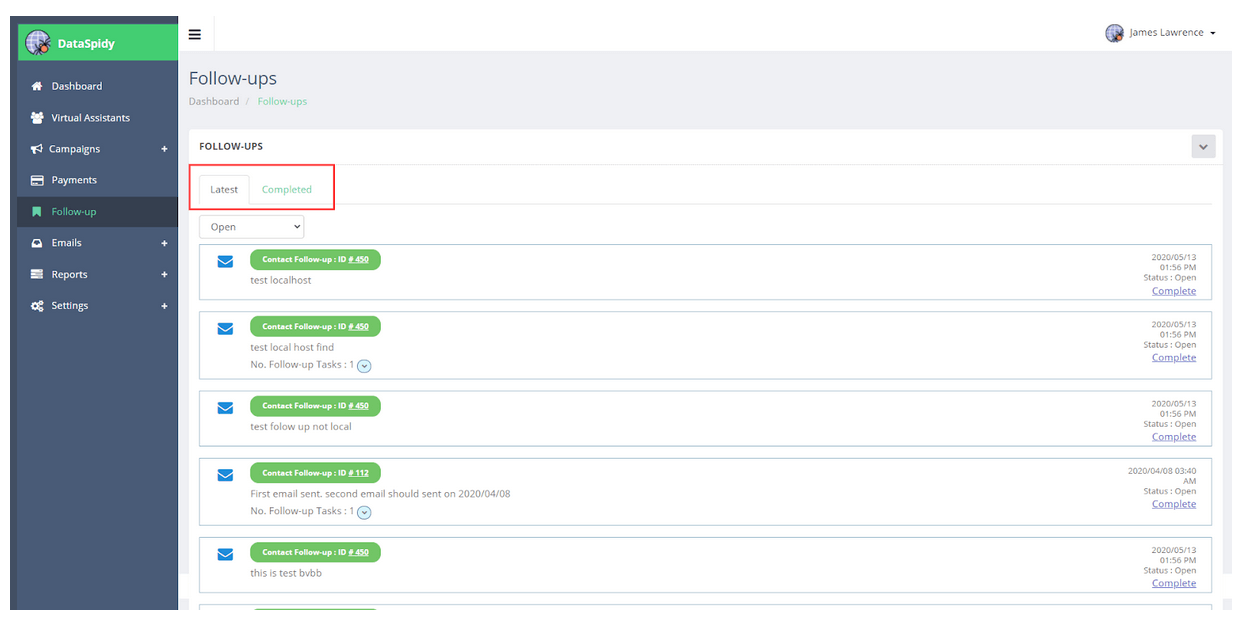
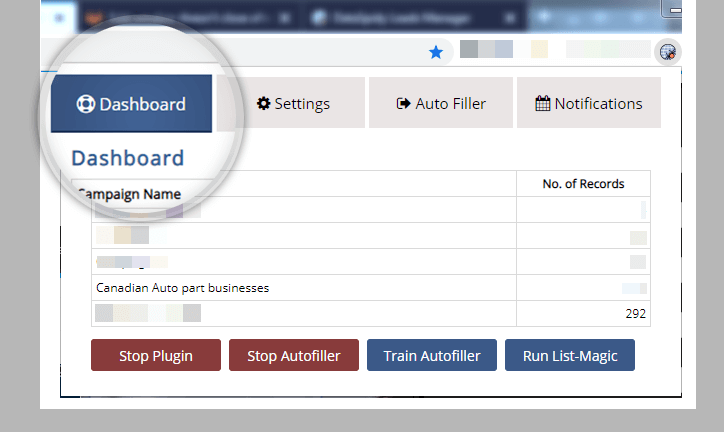
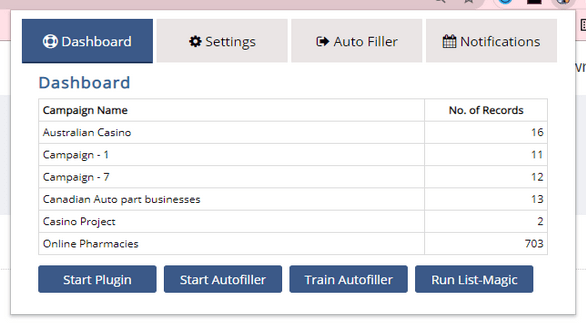
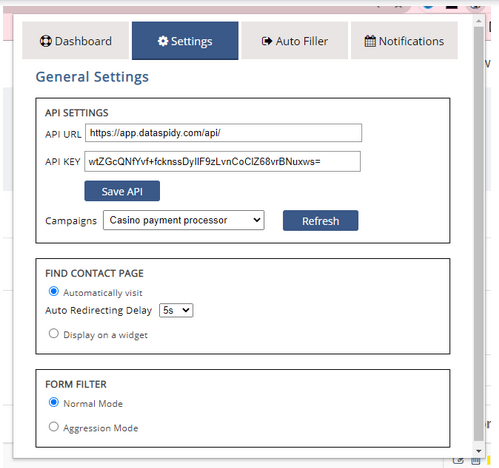
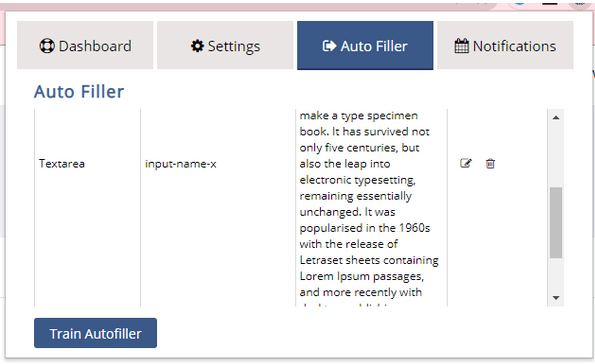
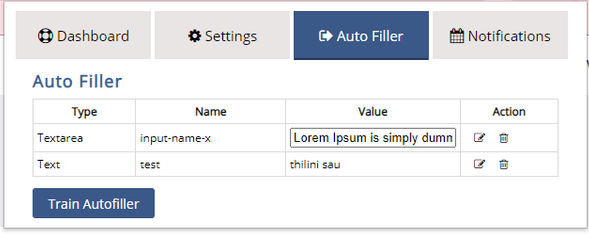
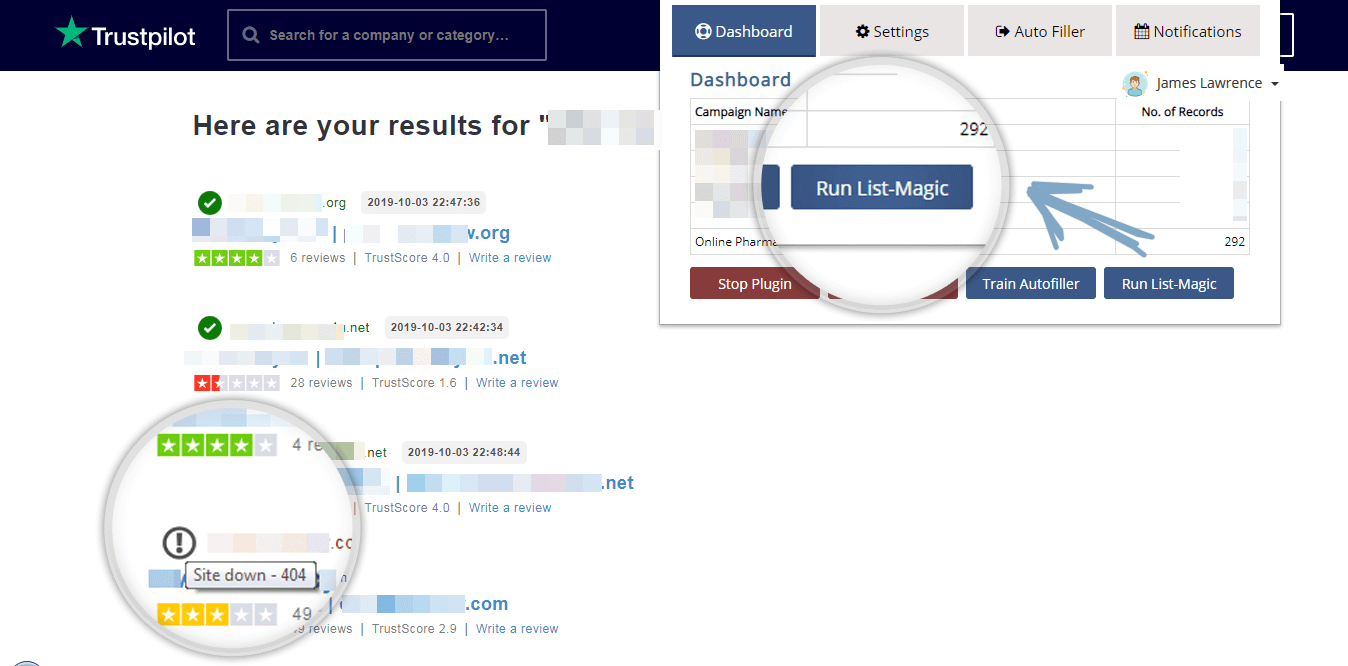
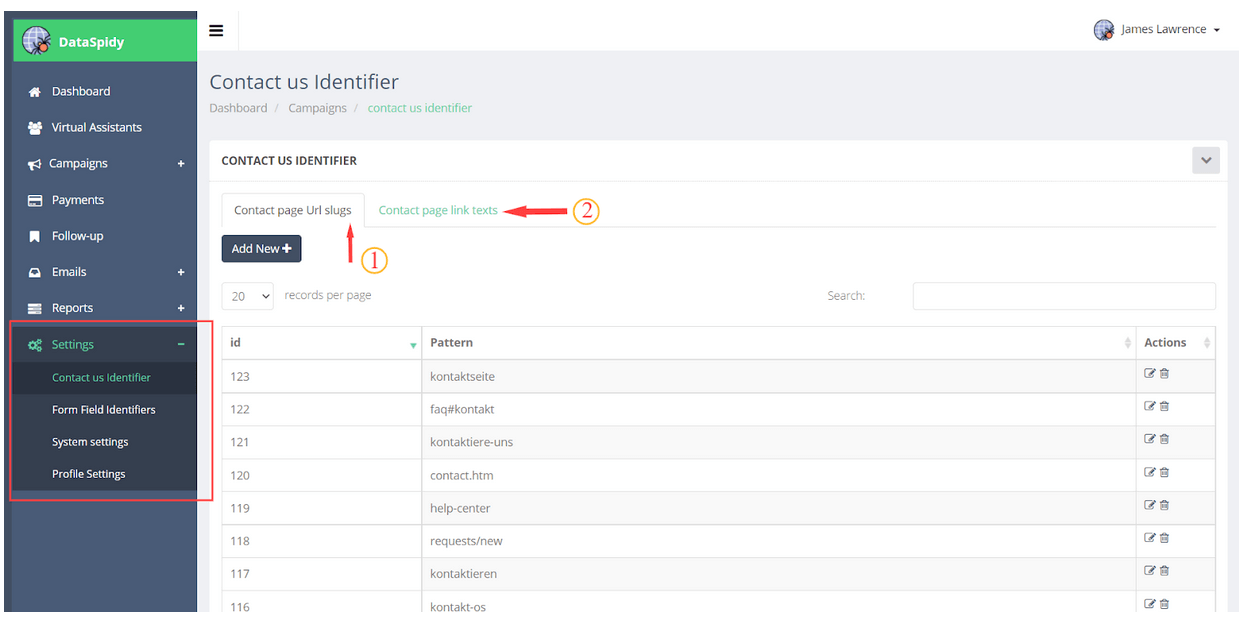
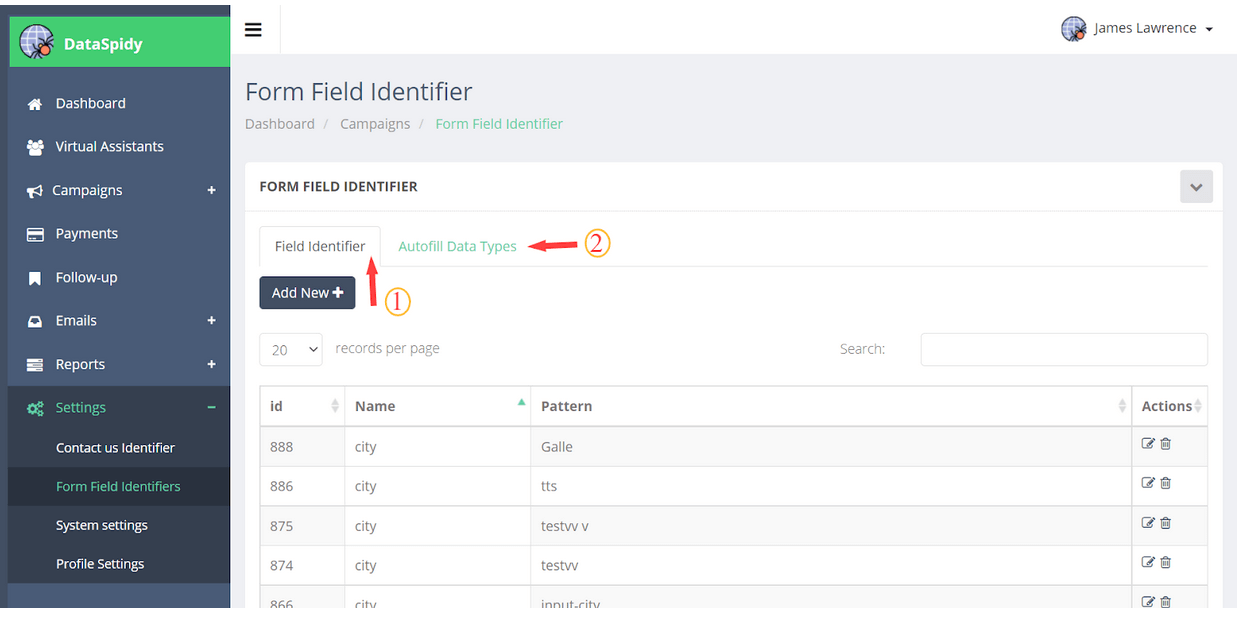
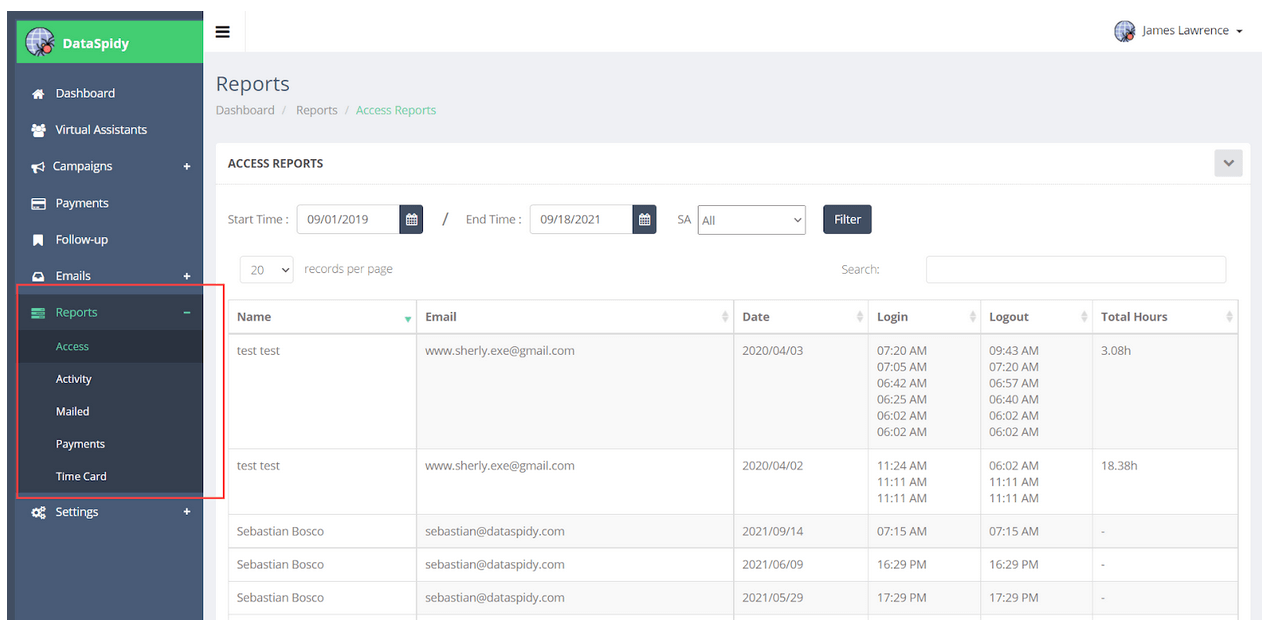
DataSpidy is another business favorite, an internet marketing platform that organizes all of your client information and daily work in one user-friendly dashboard. It automates the tracking, delivery, reporting, and analysis of marketing campaigns and promotions through the integration of customer data sources and the ability to parse the data through a broad range of analytic searches. So that you can reduce the time and efforts by more than half by automating the website data gathering, email sending, contact us form filling and submission, follow-ups. Also, it can track data gathered by each company person in the selected date range, Number of hours worked, separately with its sophisticated reporting. Main Features 1. Campaigns To start a campaign, select Campaigns from the menu. Then select Add New in the Manage Campaigns panel. Step 02: Enter the required details and press Add and, the new campaign will add. Updated Campaign Details : Dataspidy mapping tool allows cross-validate duplicates between different campaigns. With the visual mapping generate tool, you can pick the unique data fields in campaigns and add to the mapping pool, which then validates the data between campaigns when records collect. Campaign Actions Step 03 : As in above Figure, you can see several actions mentioned in the last column for each campaign. (1) View Records | (2) Edit | (3) Manage Sales Letters | (4) Manage Email Campaign | (5) Excluded URLs | (6) Blacklist URLs | (7) Load URLs | (8) Auto fill Rules | (9) Delete Thereby you can view the records of a campaign as in the following window, Step 04: You can add new records through (1) and use (2) for grouping. Step 05: As in Above Figure, you can export and import campaign information using (3) and (4). By Selecting to edit the details of a campaign. You will get the following window. Create and Manage Sales Letters (3) You can add Sales Letters as in the following figure. Manage Email Campaign Manage and Add Excluded URLs Manage and Add blacklist URLs Load URLs Manage Autofill Rules Campaign Mapping Select Mapping from the menu and get the following window. You can add new campaigns to map with others and manage the mappings. 2. E-mails Select Emails from the menu; you can set emails, adding details of server, sending limit and port, etc. Use the Add New button in the Email Template to create and save predefined emails. Through the email marketing you to build relationships with leads, customers and past customers. It’s your opportunity to speak directly to them in their inbox, at a time that is convenient for them. 3. Follow-Ups Select Follow-up from the menu and view all Follow-Ups that you have added. You can view separately completed and latest follow up. Follow-ups are two types as group follow-ups and the single contact follow-ups. Follow-ups can be breakdown to subtasks and complete the follow up upon complete all subtasks. Chrome plugin displays the follow-ups on as notifications in the plugin and on-page widget. 4. Chrome Plugin You will be able to view the following panel when you have installed the plugin in your browser. Chrome plugin widget has a feature that you can trigger a pre-defined email with site-specific collected data while you are on that site. When you clicked the send email button in widget system, generate the email and sent to that sites contact address. Step 01 : You can click on the Start plugin button. Under the Settings section, you can add your API key and select the campaign. Step 02 : User can use Auto Filler to find the contact pages on the sites and fill the contact form automatically with the data profile for that campaign as mention in below two images. Step 03 : Chrome plugin displays the follow-ups as notifications in the plugin and on-page widget. You can turn on the notifications upon your preference. 5. Settings 1. Contact Us Identifier 2. Form Field Identifier You can add a new Field Identifier (1) to find the contact pages on the sites and using Auto Fill data types (2), You can define data types that will fill the forms automatically. You can change user profile and account settings under the next two subsections: System Settings and Profile Settings. 6. Reports Reports Management DataSpidy allows you to create several report types according to system access details, activities done, mailing, payments made and Time Card. DataSpidy offers the best solutions for lead generation using a combination of data tools to build and validate high-quality lists to find your next best customer. It will make sure that the good leads are nurtured and followed up on properly and its Chrome plugin offers the quickest, most-targeted path to market, delivering qualified sales opportunities directly to your business.
DataSpidy
The Best For Lead Management

Introduction

Summary
